
Design and overrides
Configure Product Overrides
Customize selected fields on one product’s label without changing the source product or checkout price in Shopify.
Before you begin
Confirm these items before you make changes:
- The product or variant has been added to Shelva.
- A template that supports the fields you want to change is assigned.
- For physical publishing, the product has an assigned label and its location has an online Hub.
Product Data versus Overrides
Product Data
Shows values currently received from Shopify. These remain your source-of-truth product values.
Overrides
Replaces only the enabled fields on this Shelva label without editing Shopify.
Override controls are field-specific. Enabling one field does not require you to override everything.
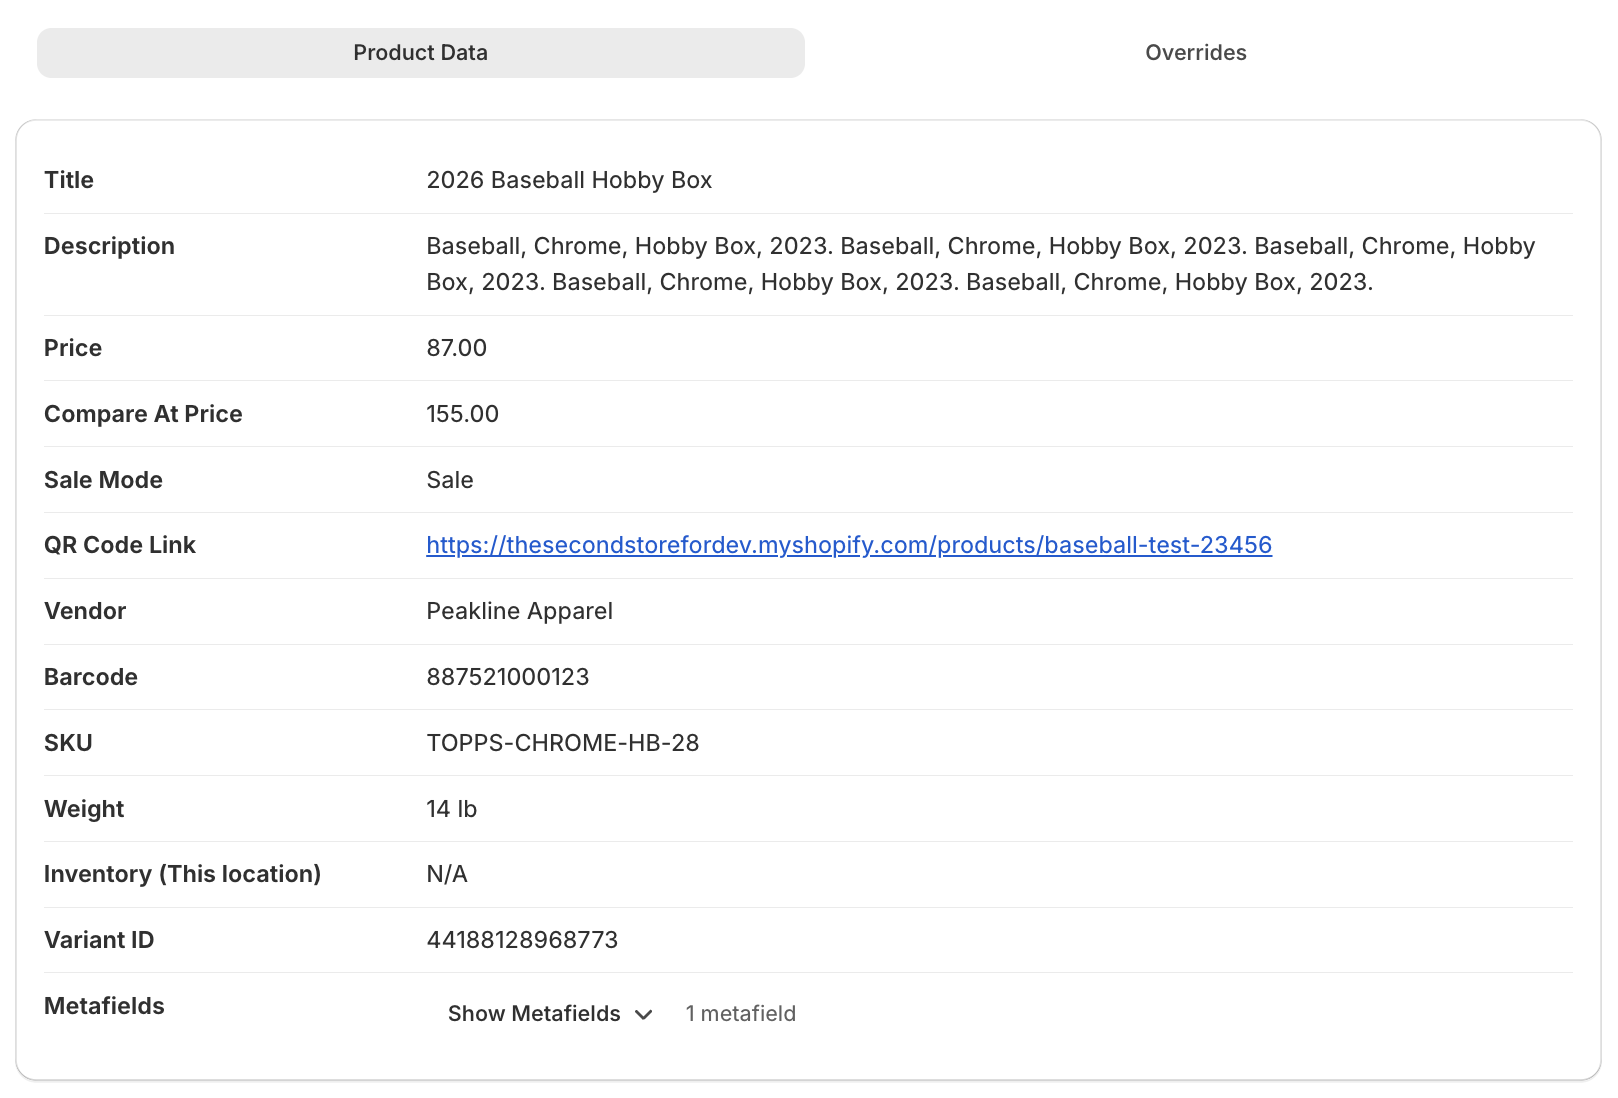
The Product Data tab shows the values Shelva currently receives from Shopify.
Configure an override
- Open Dashboard, find the product or variant, and select Configure.
- Open the Overrides tab.
- Enable only the fields you want to replace.
- Enter the replacement values and review the live preview.
- Select Save to store the override, or Save & Publish to store it and update assigned physical labels.
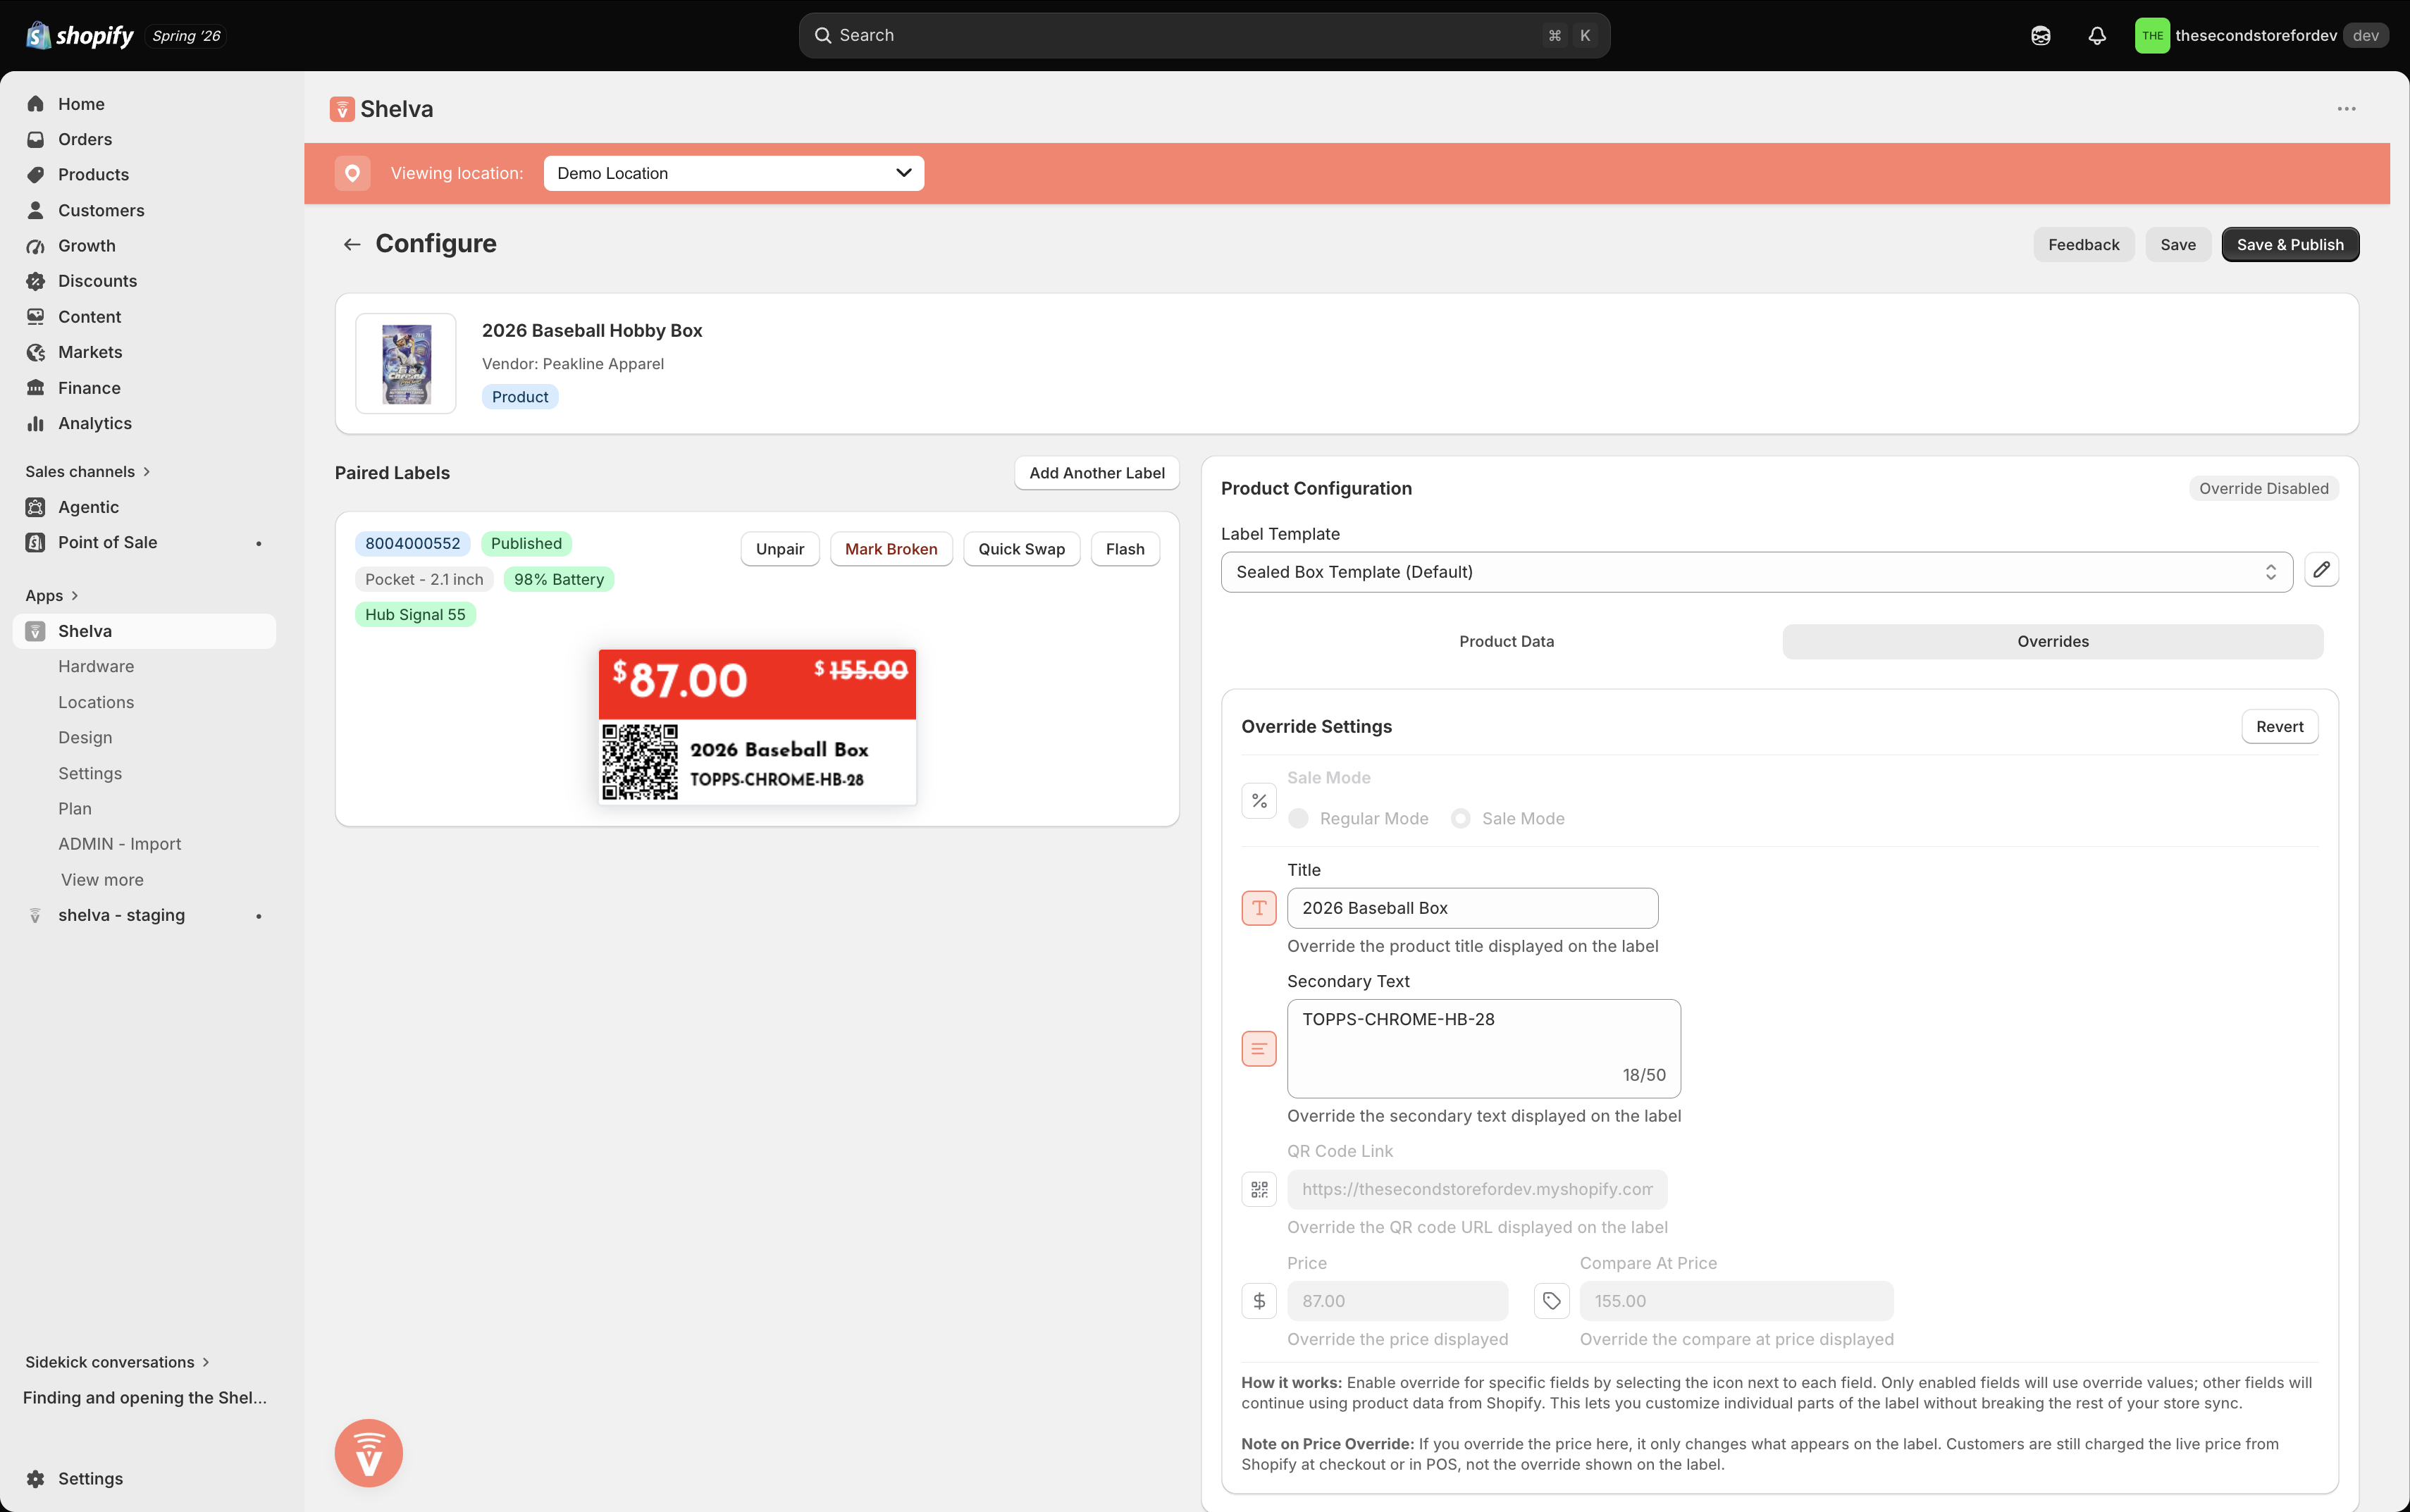
Enabled override fields are highlighted, and the label preview shows how those custom values will appear on the shelf.
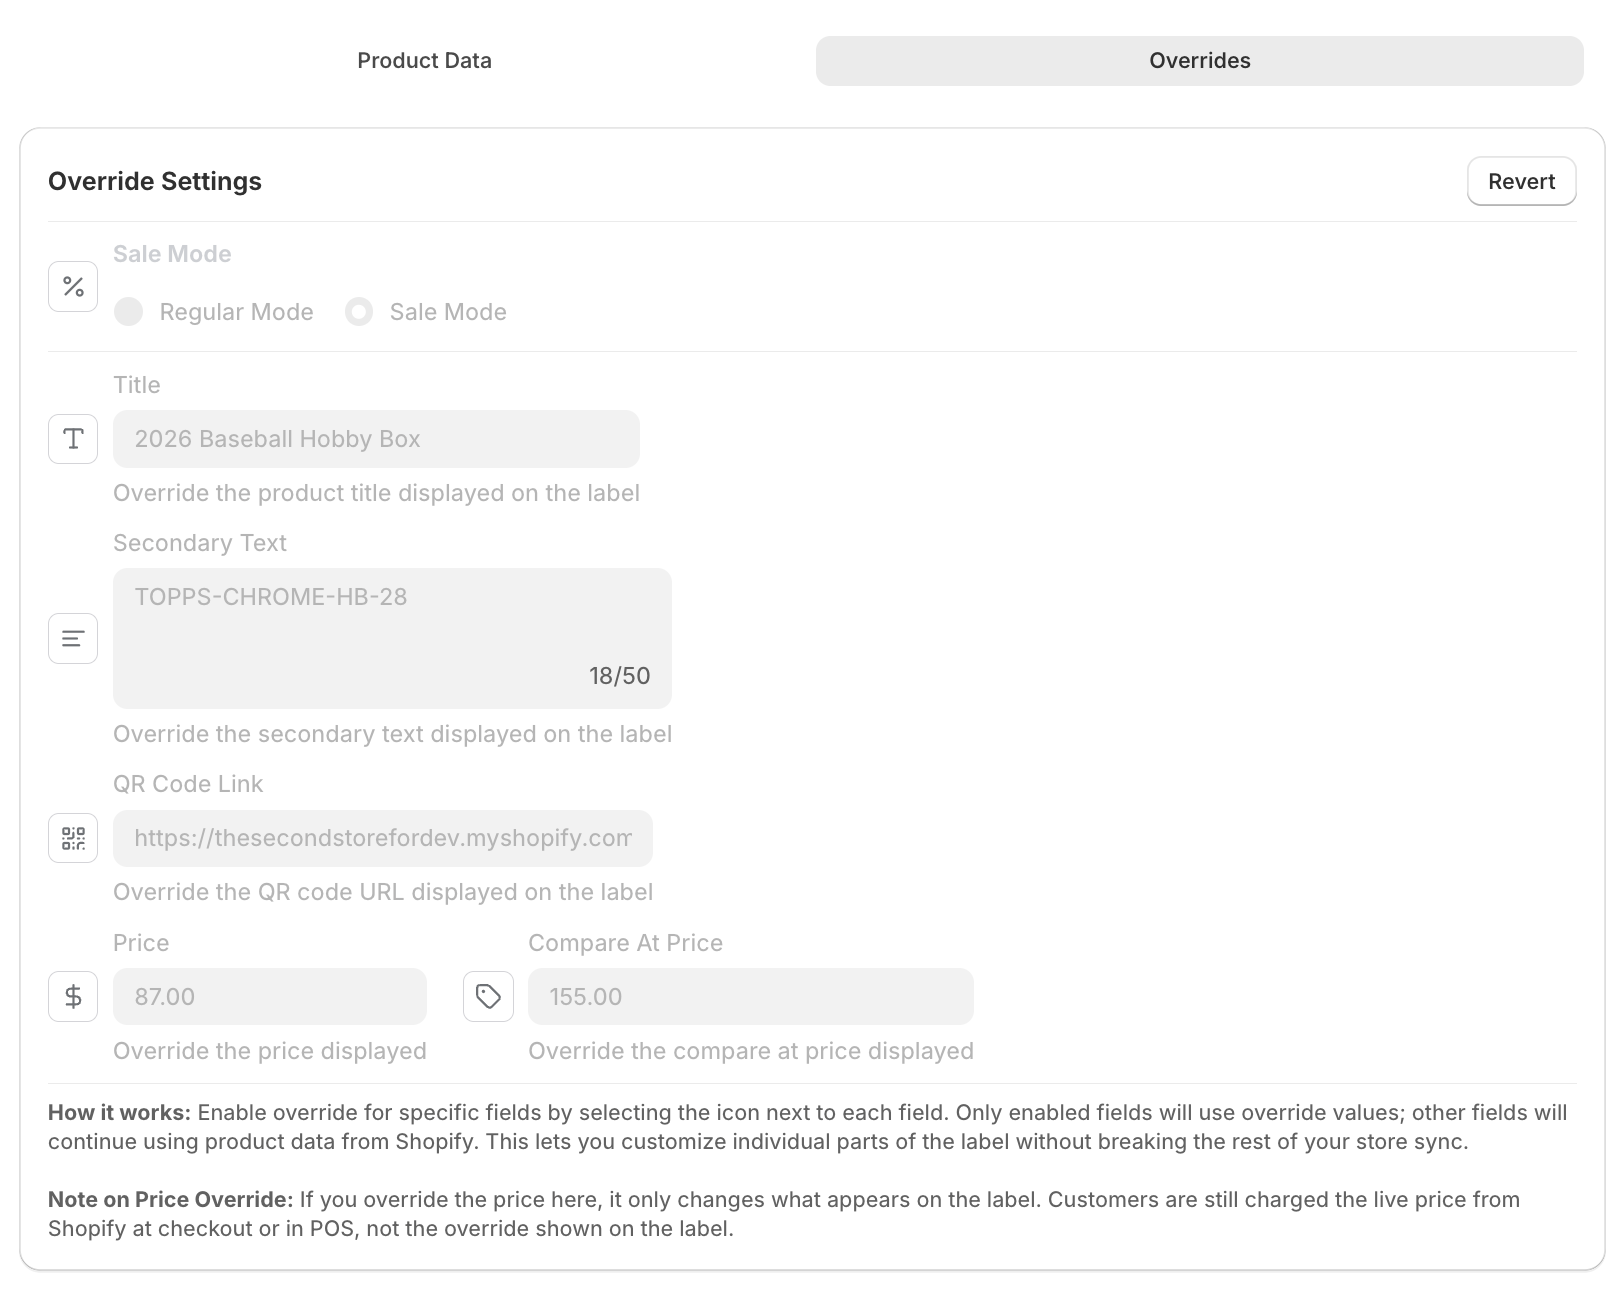
Each override can be enabled independently and compared with the label preview.
Supported override fields
Available fields depend on the assigned template. They can include:
- Title, secondary text, tertiary text, and badge text.
- Price, compare-at price, and sale mode.
- QR-code link.
- Variant-row values on supported Grand layouts.
- Assigned template.
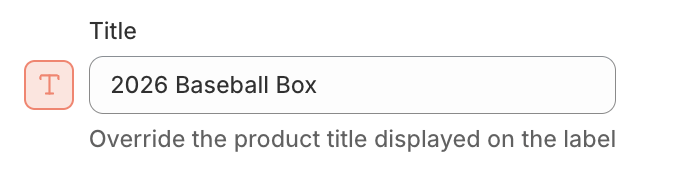
Enable the title override, then enter the exact text that should appear on the label.
Choose Save or Save & Publish
| Action | Result |
|---|---|
| Save | Stores the override without sending a hardware update. |
| Save & Publish | Stores the override and sends a new design to assigned physical labels. |
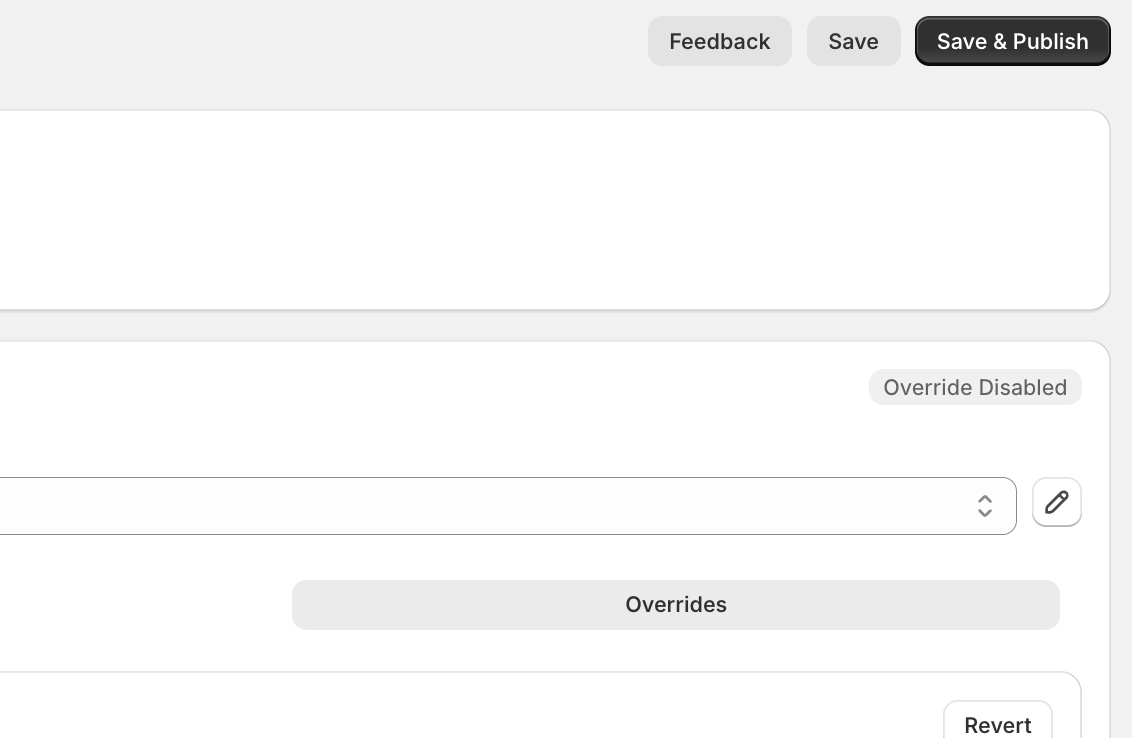
Save stores the override; Save & Publish also sends the updated preview to assigned physical labels.
Revert to Shopify data
Use Revert to current product data or disable an individual override to return that field to the latest Shopify value. Review the preview, then publish if the physical label must change.
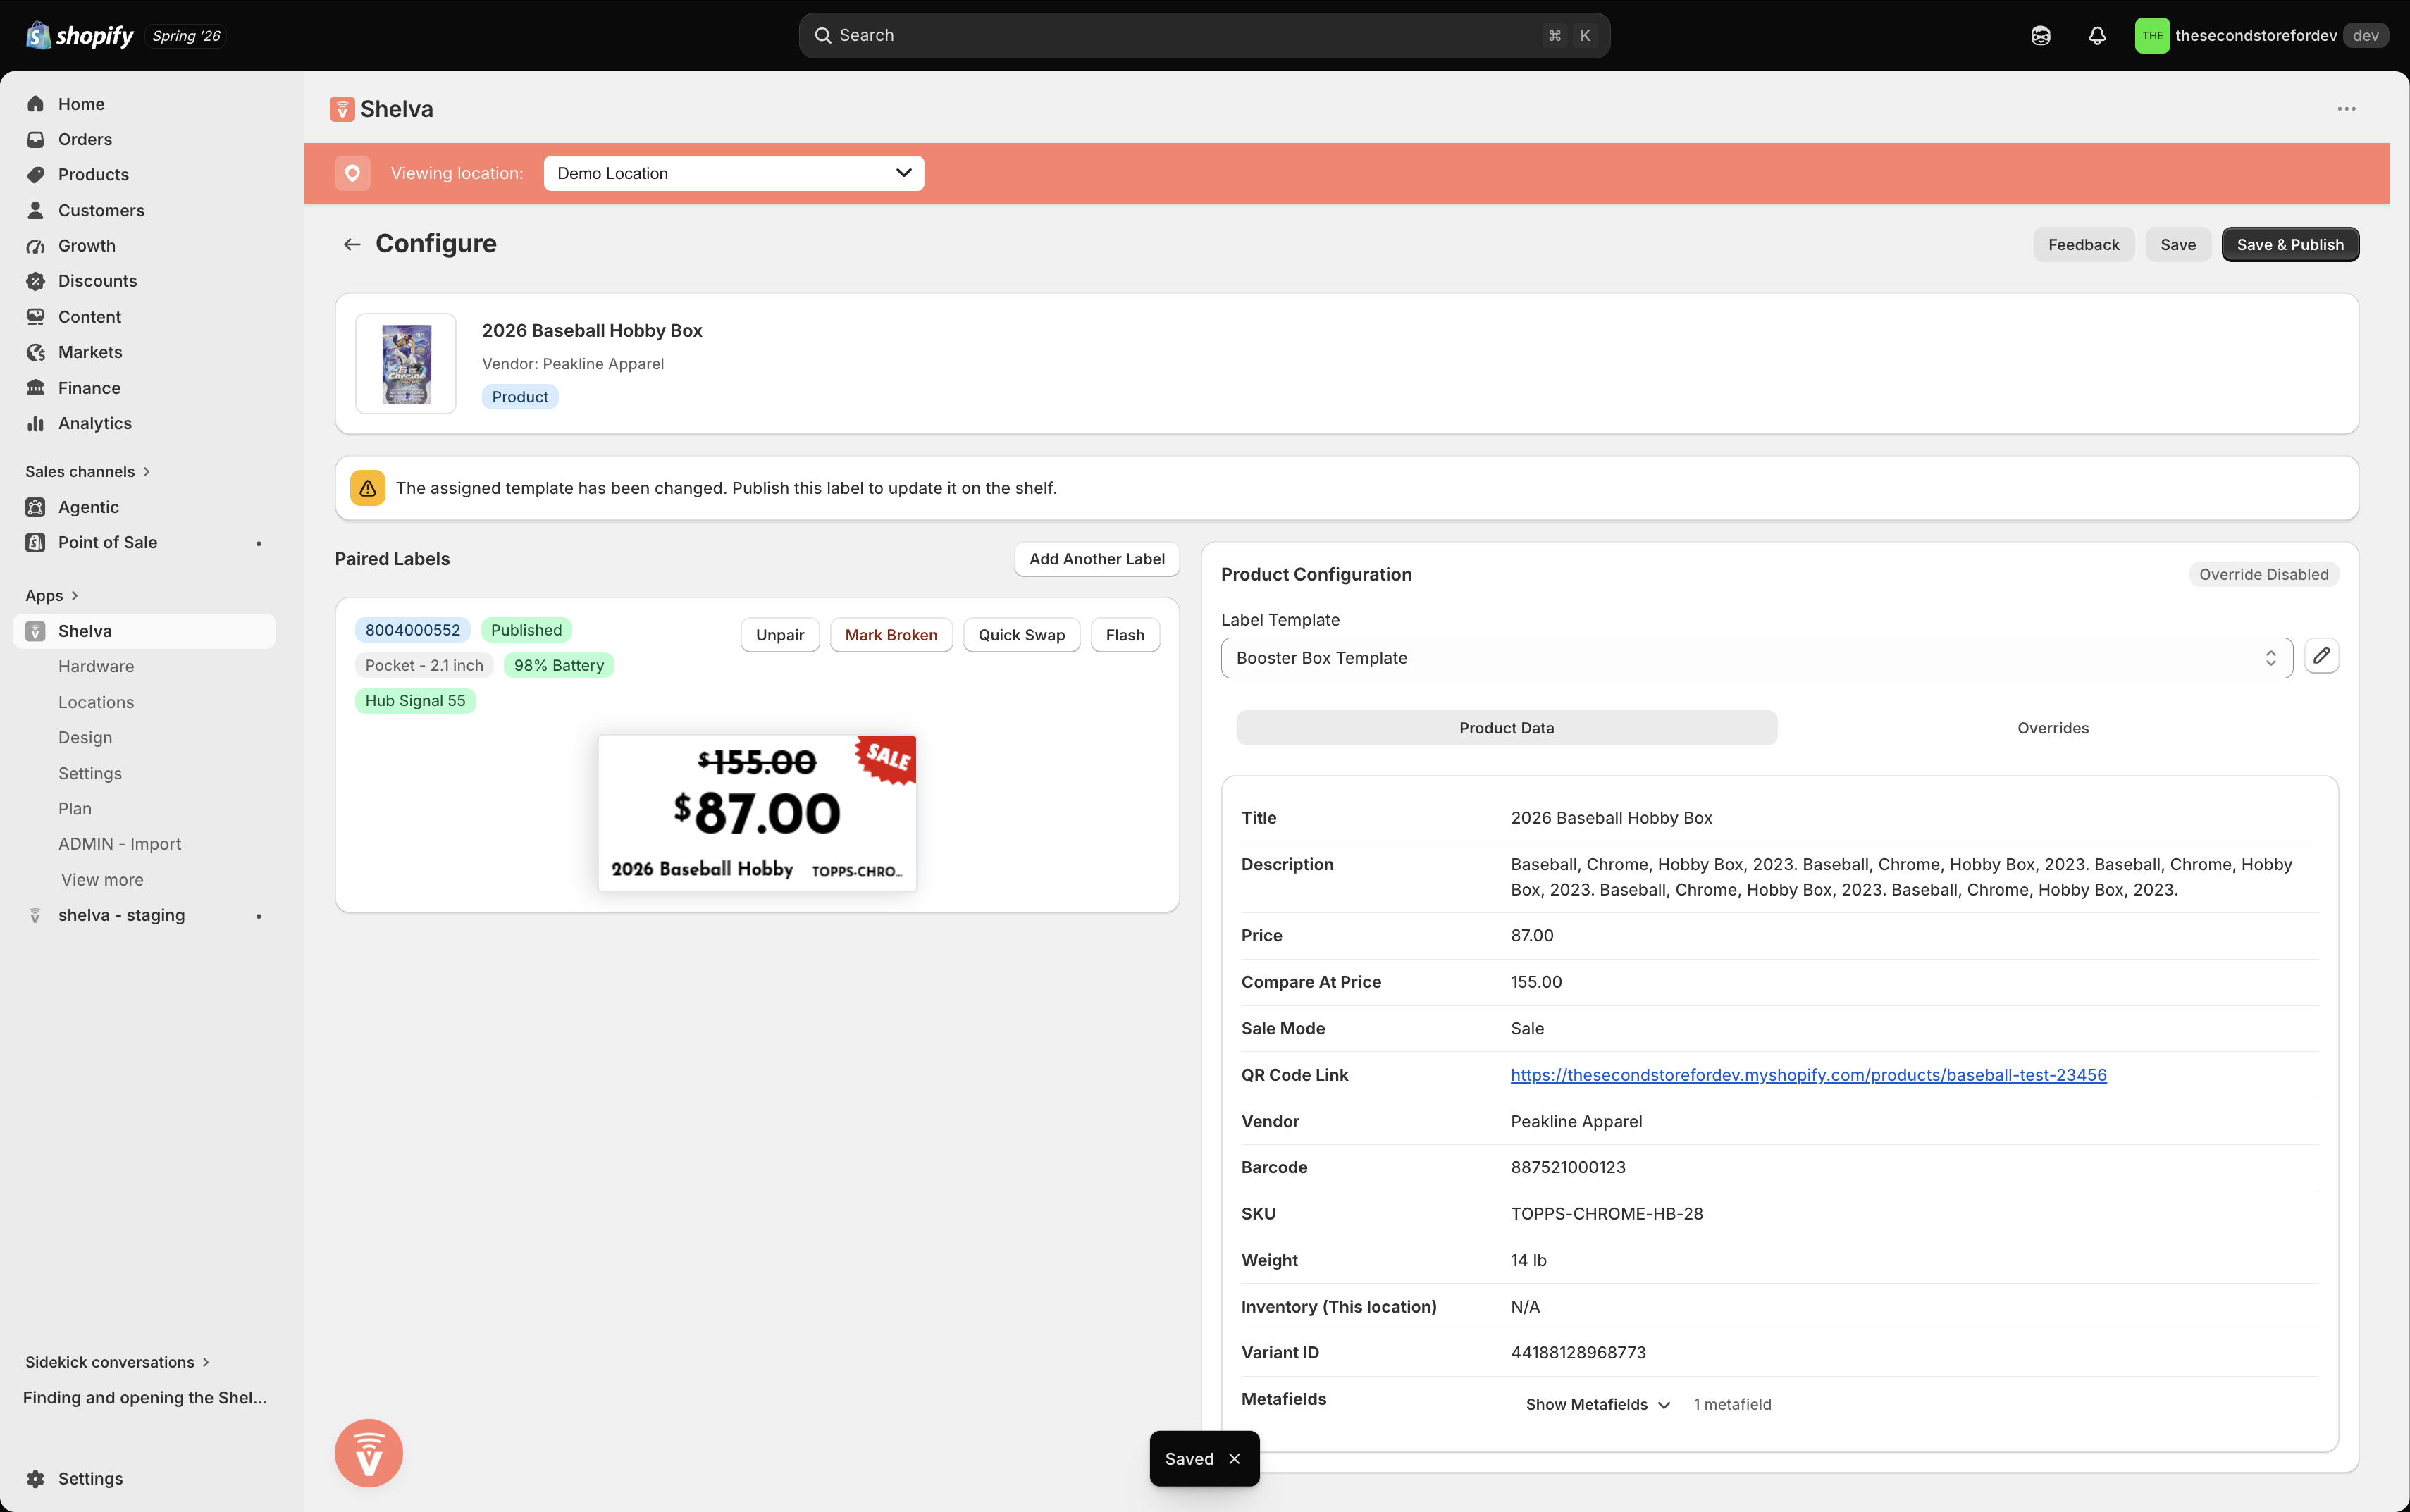
Configure warns when the saved template differs from the design last published to the label.
What success looks like
Only the intended fields show Override Enabled, Shopify product data remains unchanged, and the label preview matches the desired shelf presentation. If you selected Save & Publish, assigned physical labels show the updated design.