
Hardware and locations
Set Up Hardware and Store Locations
Enable the correct location, bring its Shelva Hub online, and confirm that the store’s labels are visible in Hardware.
Before you begin
Confirm these items before you make changes:
- You can access the store’s Shopify Admin and Shelva app.
- You know which Shopify location will use the hardware.
- A router or modem with an available Ethernet connection is nearby.
- Your Hub, labels, power adapter, and Ethernet cable are available.
Order or identify your hardware
A Starter Kit includes a Shelva Hub, labels, mounting accessories, and setup materials. Individual Hubs, label sizes, and accessories can also be ordered separately.
| Shelva label | Display size | Notes |
|---|---|---|
| Mini | 1.5" | Compact product information |
| 2.1" | May also be available as a freezer label | |
| Slim | 2.9" | Versatile shelf format |
| Spotlight | 3.7" | Larger promotional format |
| Grand | 10.2" | For multi-variant parent products |
In the Shelva app, open Hardware → Order for current pricing, inventory, delivery estimates, shipping, and refund terms. Those values are intentionally not duplicated here.
Connect the Shelva Hub
- Connect the Shelva Hub to power.
- Connect the Hub to an internet-enabled modem or router using Ethernet.
- Wait up to five minutes while the Hub connects.
- Open Shelva’s Dashboard or Hardware page.
- Confirm the Hub shows Online. If it remains offline, refresh its status and verify the power, Ethernet cable, and internet connection.
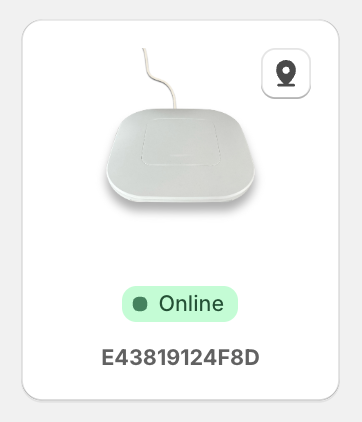
A connected Hub shows an Online status on the Hardware page.
Configure Shopify locations
- Open Locations.
- Select Sync Locations.
- Find the Shopify location that will use Shelva.
- Select Enable in Shelva.
- Verify the location shows Active in Shopify and Enabled in Shelva.
Location view shows products and hardware for one store. Global view summarizes enabled locations, while Configure pages remain location-specific. Auto-Sync can use one global policy or separate location-specific policies.
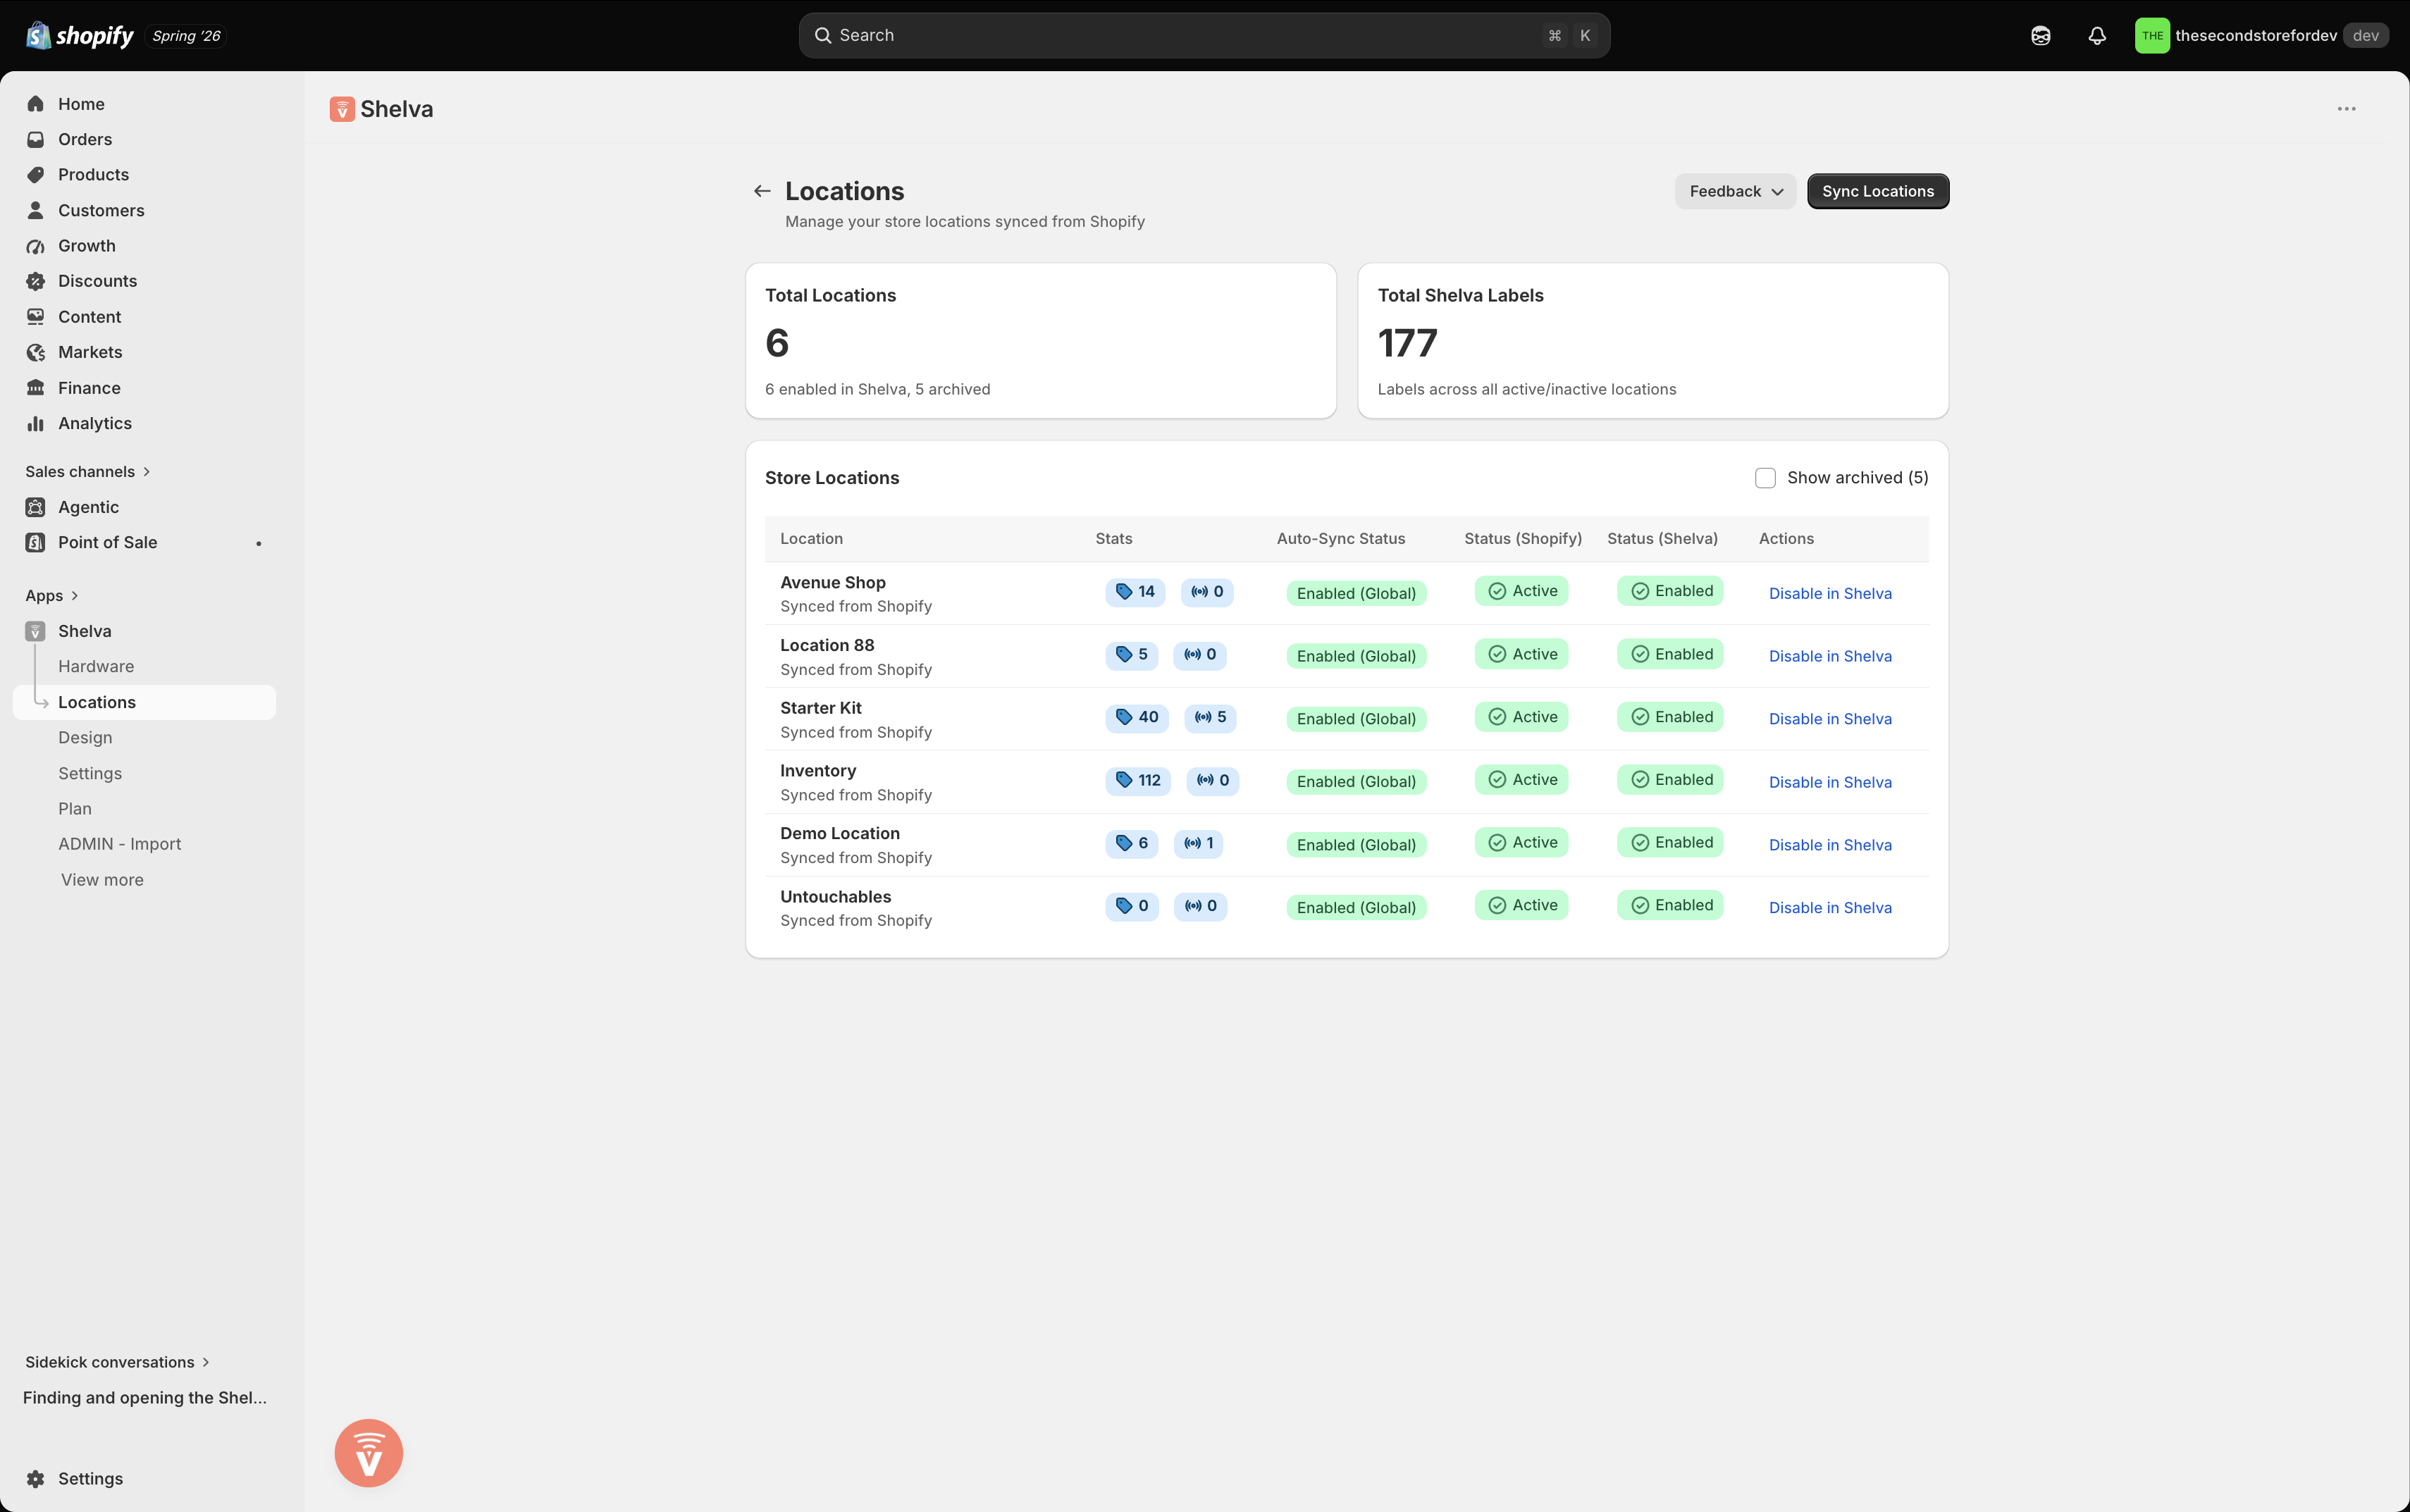
The Locations page shows Shopify status and whether each location is enabled in Shelva.
Manage labels and Hubs
The Hardware page summarizes Total, Paired, Published, and Low Battery counts. Filter labels by pairing, publishing, size, color, broken state, battery, or location.
- Review each Hub’s Online or Offline state and signal information.
- Use Flash to locate a label physically.
- Use Mark Broken only when a label must be removed from service.
- Use Mark Working before making a repaired label available for pairing again.
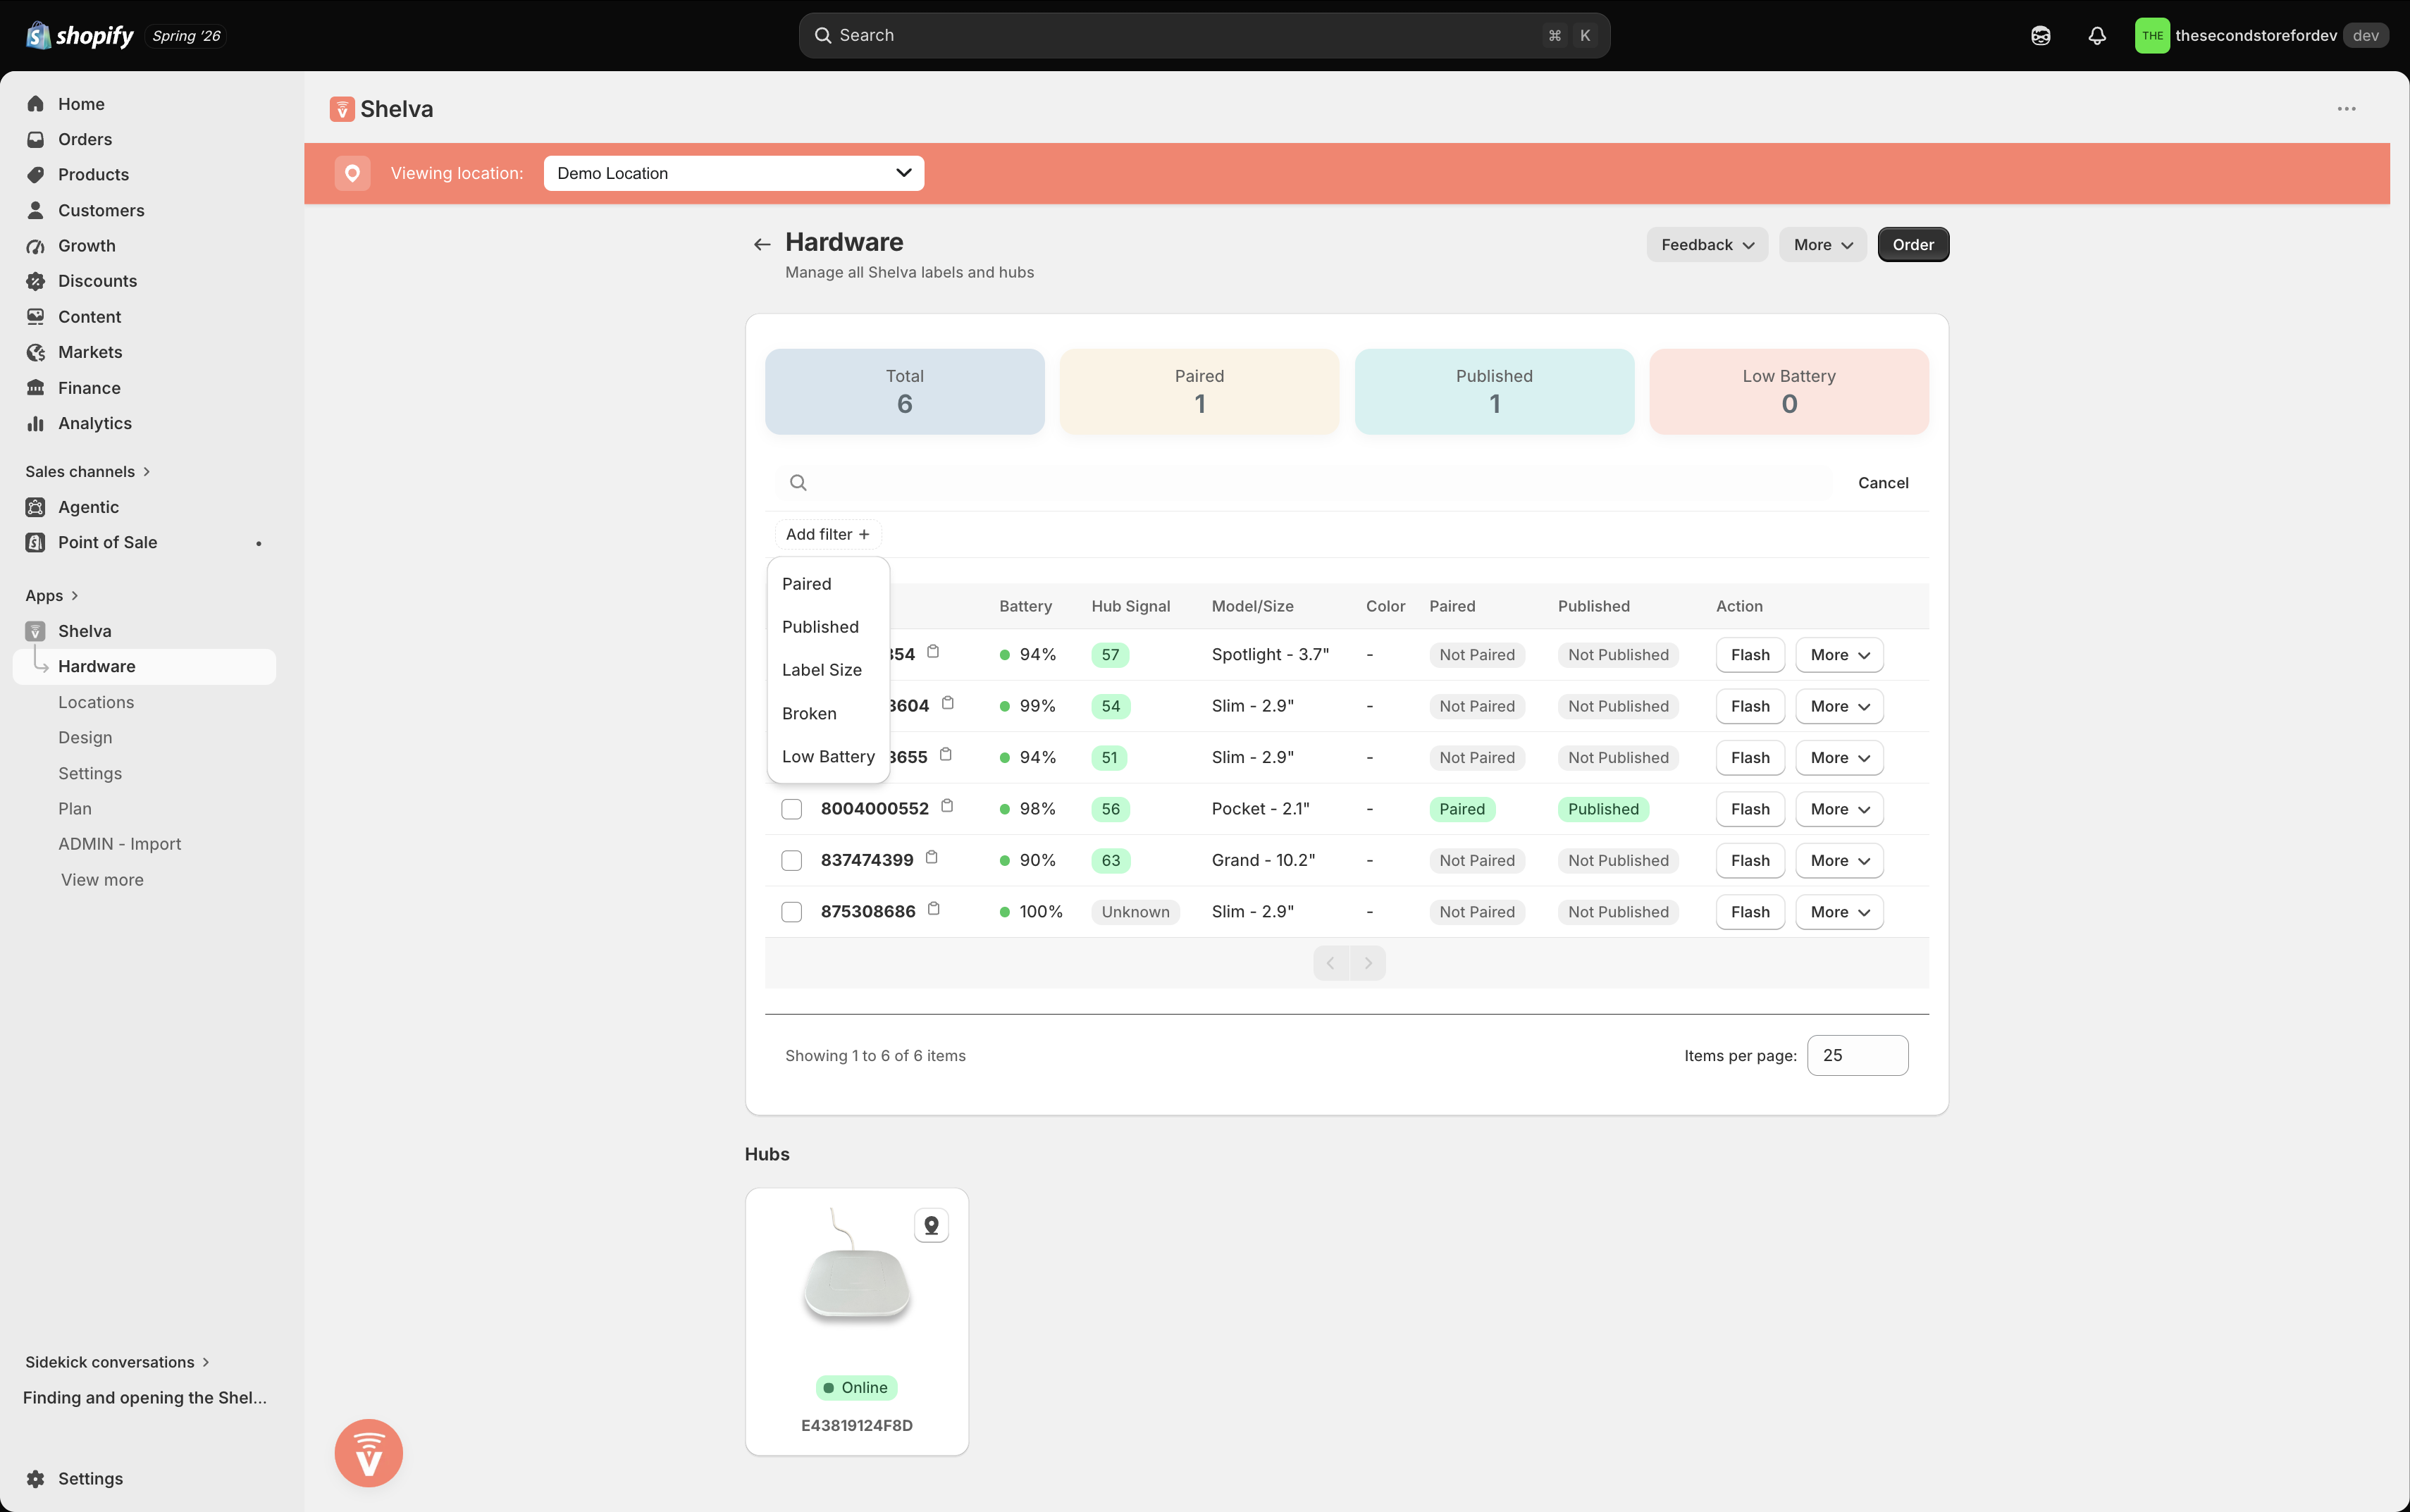
Use the Hardware page to confirm Hub status and filter the labels registered to the store.
Move hardware between locations
Moving a Hub changes which location uses that hardware path. Confirm the target location before accepting either move, then check the destination’s products and hardware.
What success looks like
The intended Shopify location shows Enabled in Shelva, its Hub shows Online, and the expected labels appear under Hardware with the correct location and status.