 XPart Supply Ltd.
★★★★★
"Very good product and service."
Connect your Shopify store to digital shelf labels. Update prices, inventory, and promotions instantly.
![[background image] retail setting (for a tech gadgets store)](https://cdn.prod.website-files.com/68a8e7ca6773a5df8483416a/68ae0c43406f6b8a43d00f1b_1.png)


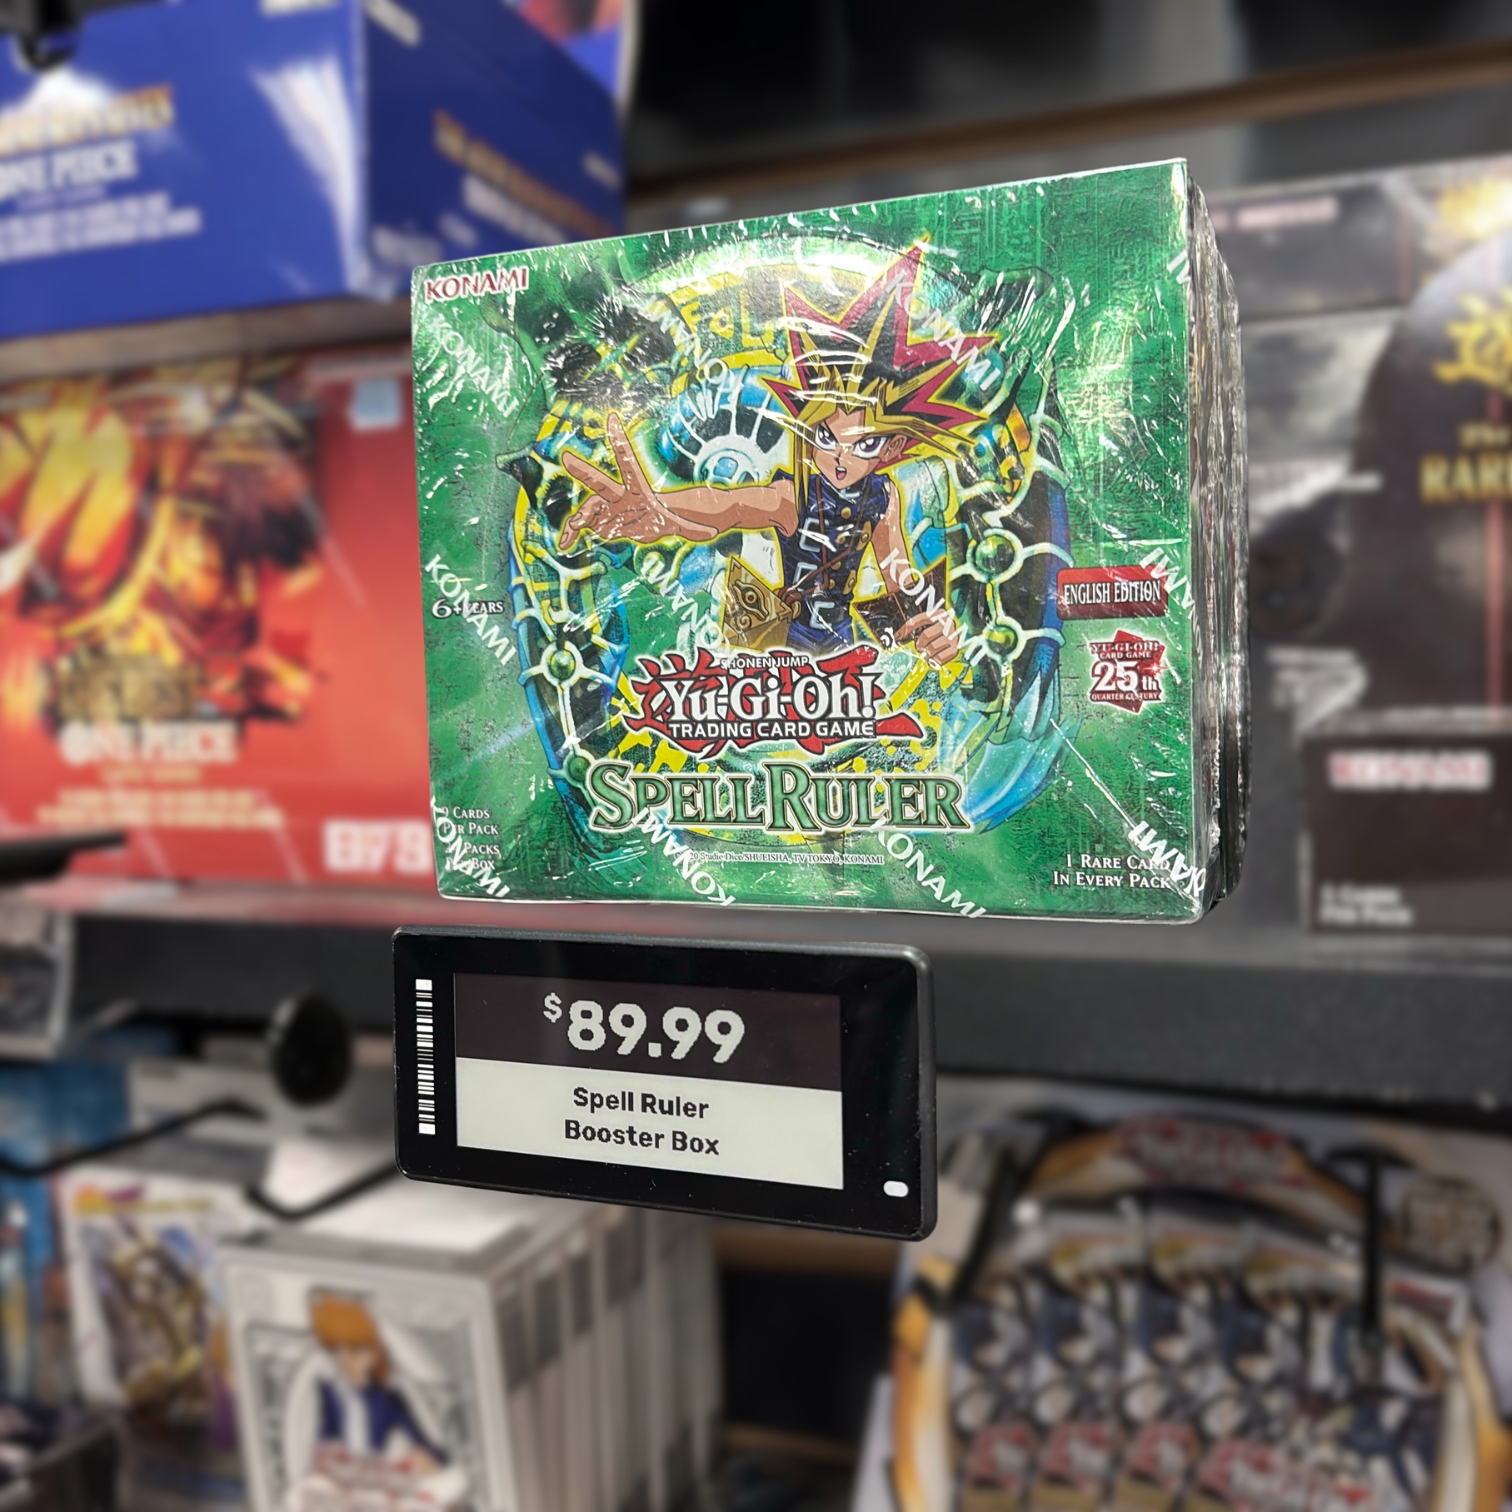
![[digital project]](images/live-media/black-rose/3.png)

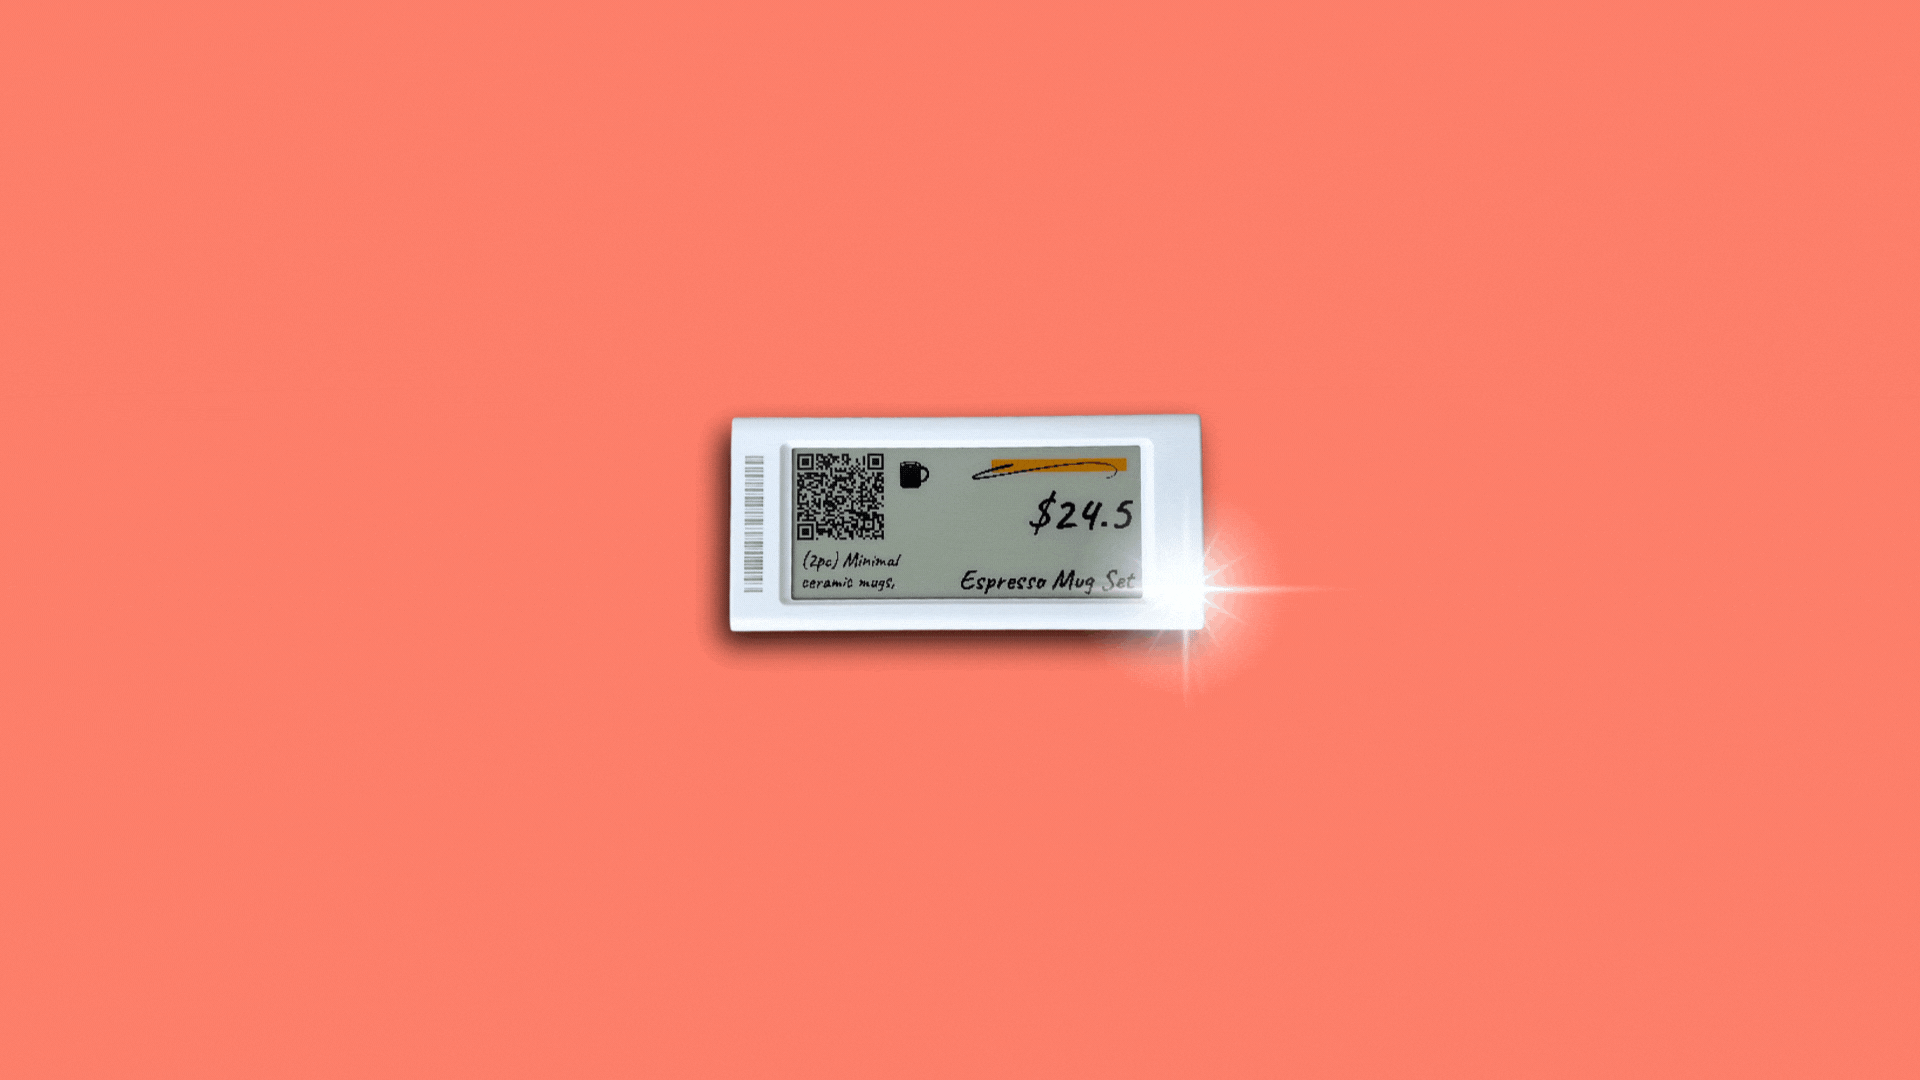
Effortlessly link your Shopify online pricing and in-store pricing. Product updates, promotions, and inventory changes are instantly reflected on every shelf label — no manual edits, no mismatches, just accurate, up-to-date information at all times.
Perfect for small stores getting started with digital shelf labels.
$90
/ month
or $972/year and save 10%
Ideal for expanding stores that need more labels and advanced features.
$200
/ month
or $2,160/year and save 10%
For growing stores that need more labels and multi-location support.
$325
/ month
or $3,510/year and save 10%
For large retailers with complex needs and unlimited requirements.
Contact Sales
Every plan includes
Syncing with Shopify
Label designer
Automatic price updates
Bulk management
Seamless hardware setup
Live support
XPart Supply Ltd.
"Very good product and service."
 Fitness New Zealand
"No more mucking round with different pricing in-store and online."
 Black Rose Hobbies
"Solved a massive gap in the market with digital price tags."
 Awesome Card Shop
"Hands down this is the best digital label app for Shopify."
 Summit Cards & Collectibles
"Customer service is unmatched, the ease of use is great."
 Harvest
"Working with Shelva has been an excellent experience from start to finish."
Bridge your online and in-store pricing. Update and manage electronic shelf labels directly from your Shopify admin—no extra tools or manual steps.
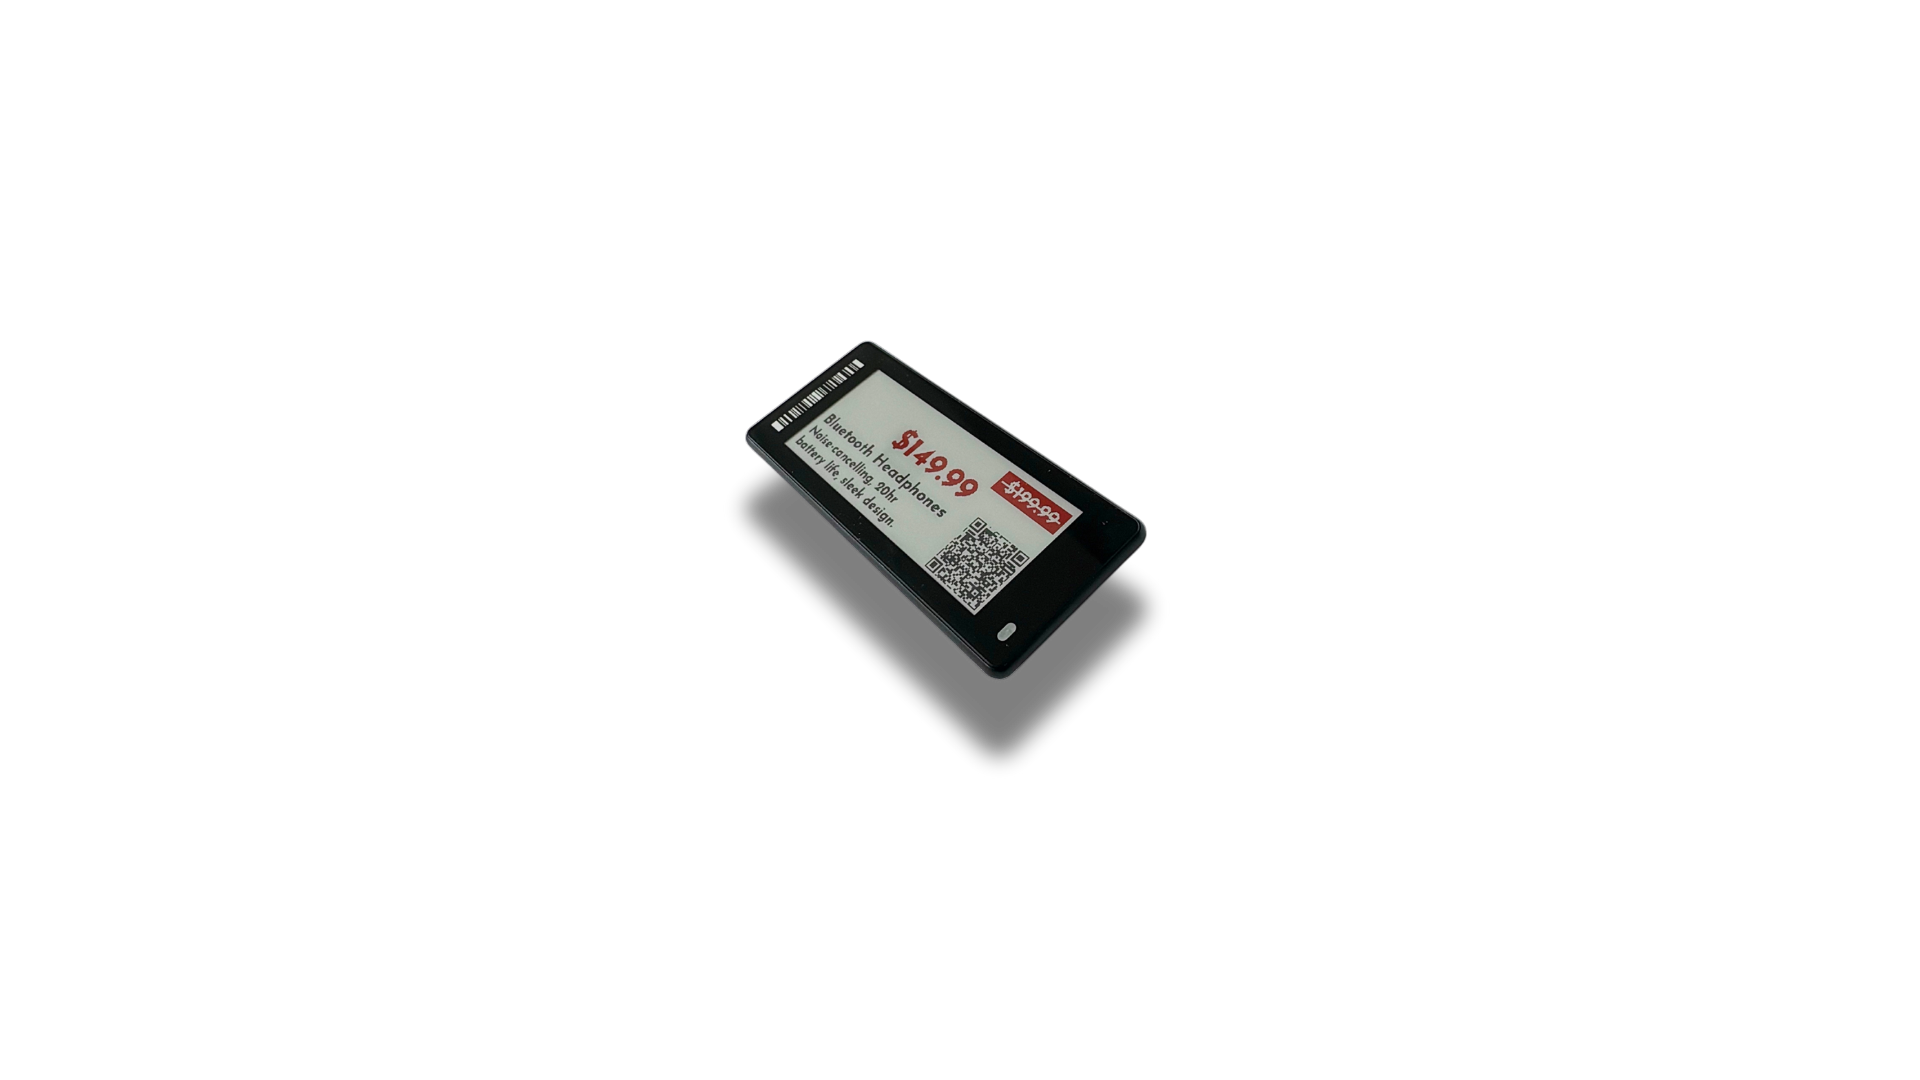
Shelf labels update instantly with every Shopify change. Eliminate mismatches and manual edits for accurate, up-to-date pricing and product data.
Design shelf labels with your branding, colors, and QR codes using our intuitive in-app editor—no design experience required.
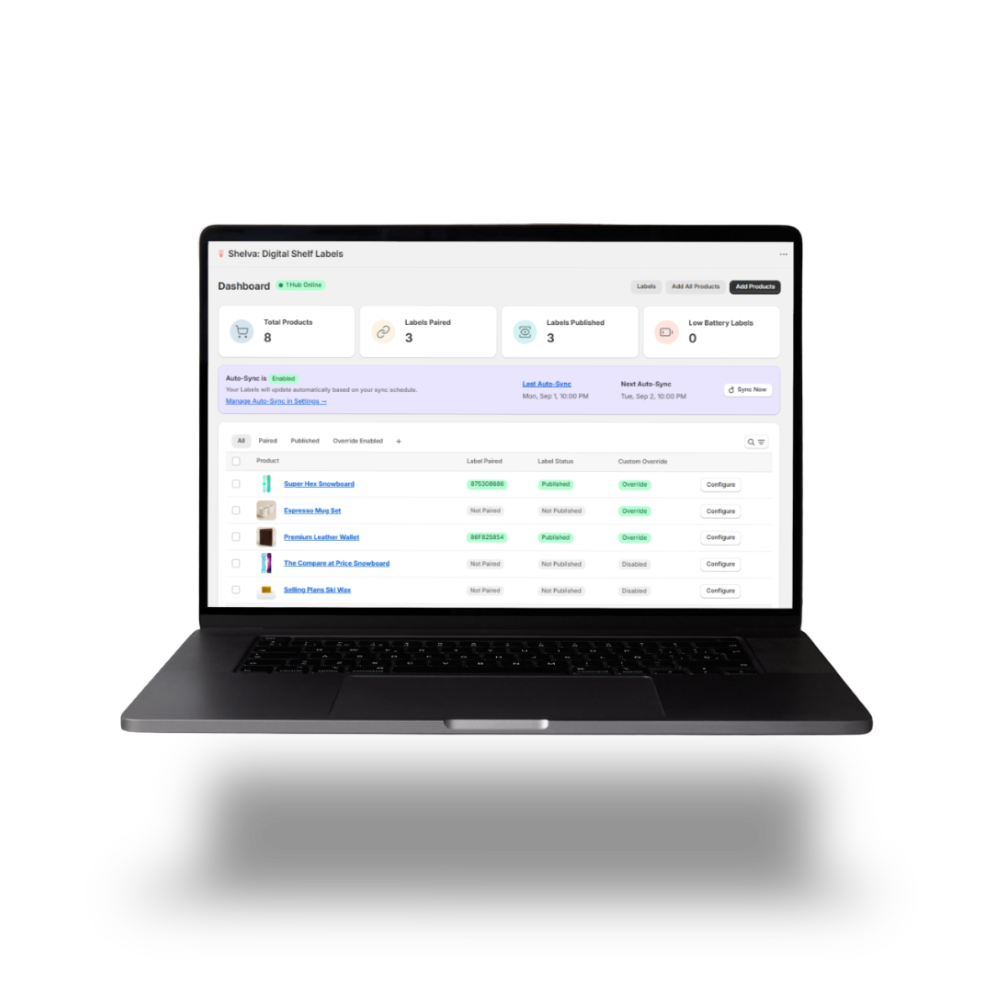
Manage all shelf labels from one dashboard in Shopify. Scale across locations and keep every shelf in sync.

Instantly link digital shelf labels to your Shopify products.
Automate price, inventory, and all data updates.
Reduce errors and free up your team.
Get clear answers on setup, customization, syncing, and pricing for digital shelf labels. Learn how to connect, design, and manage your in-store pricing with ease.
To install Shelva, simply install the Shelva app from the Shopify App Store. You can install and test Shelva without selecting a plan.
Yes, you can customize label templates in the app. Add your logo, select fonts and colors, choose your data, and preview changes live before applying them in-store.
Need a custom template? Reach out and we'll help you create it.
Product data syncs automatically from Shopify. Updates to price, stock, or descriptions appear on shelf labels at will, keeping your Shelva labels accurate and up-to-date.
You pay for hardware and a monthly app subscription. Pricing adjusts based on the number of labels. No hidden fees or long-term commitments. Duties, tariffs, customs fees, taxes, and other import charges are not covered by Shelva or included in shipping costs unless otherwise specified.
Contact
Questions about Shelva? We’re here to help.
Assistance with setup or features.
support@shelva.appWeekdays, 8am–5pm EST
Shelva App